Advanced 3D PrintingPrint-in-Place Mechanisms
1 / 12In progressIn progress

Advanced 3D Printing

Course progress0/12
1Print-in-Place
  • Print-in-Place Mechanisms
  • Ball and Socket Joint
2Snap-Fit Joints
  • Snap-Fit Joints
  • Design Snap-Fit Parts
3Living Hinges
  • Living Hinges
  • Design a Hinged Box
4Threads & Fasteners
  • Printable Threads
  • Threaded Container
5Strength Optimization
  • Designing for Strength
  • Reinforced Bracket
6Desk Organizer Project
  • Desk Organizer Design Brief
  • Project: Desk Organizer

Print-in-Place: Magic on the Print Bed ⚙️
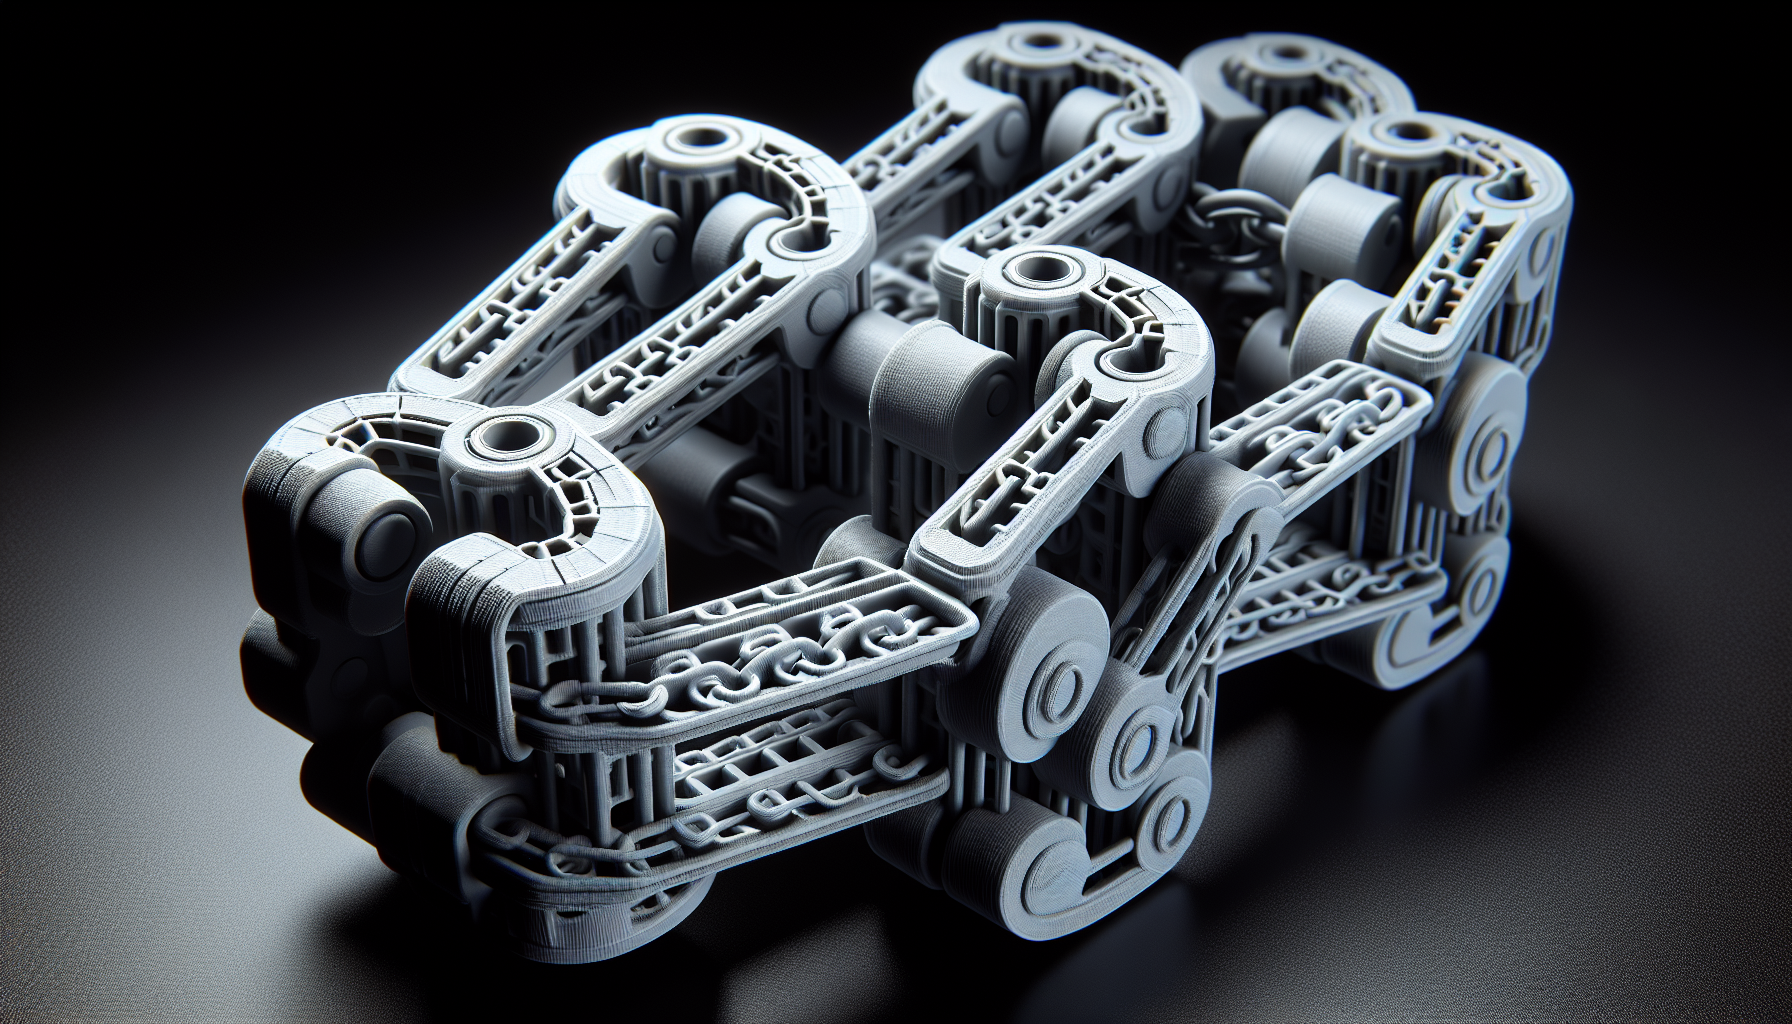
Print-in-Place Mechanism
3D printed mechanism with moving parts
Print-in-place (PIP) designs print as a complete assembly with moving parts!

How It Works

  1. 1Design parts with clearance gaps
  2. 2Print everything at once
  3. 3Parts are captured but can move freely
  4. 4Break free any temporary supports

Clearance Requirements

Movement TypeMinimum Gap
Rotating joint0.4-0.6mm
Sliding fit0.3-0.5mm
Hinge0.5-0.8mm
Chain link0.5-0.7mm

Common PIP Designs

  • Hinges: Captured pin design
  • Ball joints: Captive ball in socket
  • Gears: Meshing directly
  • Chains: Interlocking links
  • Fidget toys: Spinners, cubes