EdLight CodeEdLight Code
TracksGamesPathways
TracksGamesPathways
TrackAdvanced 3D Printing
Designing for Strength
9 / 12

Advanced 3D Printing

Course Progress0/12

Print-in-Place

Print-in-Place MechanismsBall and Socket Joint

Snap-Fit Joints

Snap-Fit JointsDesign Snap-Fit Parts

Living Hinges

Living HingesDesign a Hinged Box

Threads & Fasteners

Printable ThreadsThreaded Container

Strength Optimization

Designing for StrengthReinforced Bracket

Desk Organizer Project

Desk Organizer Design BriefProject: Desk Organizer

Designing for Strength 💪

Designing for Strength
Reinforcement techniques for 3D printed parts

3D prints can be surprisingly strong when designed correctly!

Layer Orientation = Strength Direction

  • Strong: Load parallel to layers
  • Weak: Load perpendicular (delamination)

Strengthening Techniques
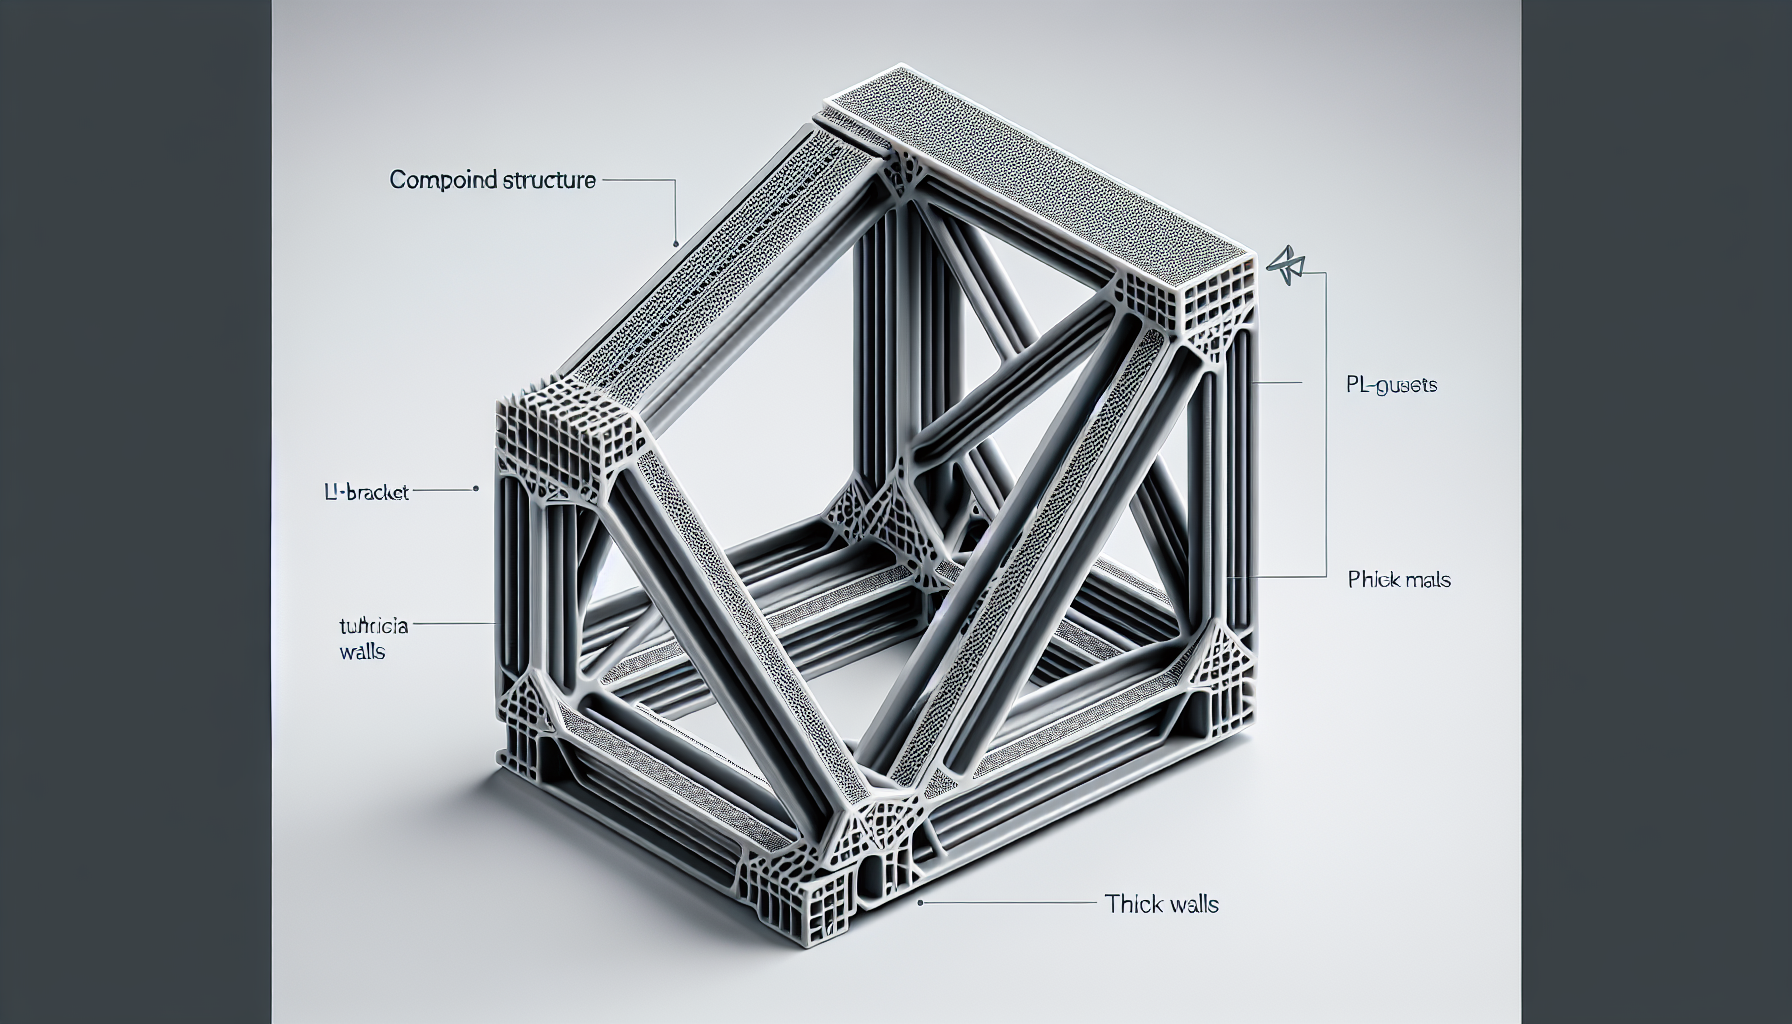
1. Ribs and Gussets

  • Add triangular supports at corners
  • Dramatically increases stiffness

2. Increased Wall Count

  • More perimeters = stronger walls
  • 4+ walls for structural parts

3. Rounded Internal Corners

  • Sharp corners concentrate stress
  • Fillets distribute force

Material Selection

MaterialStrengthFlexibility
PLAMediumLow (brittle)
PETGHighMedium
ABSHighLow
| Nylon | Very High | High |