8 / 10
Presenting Your Work
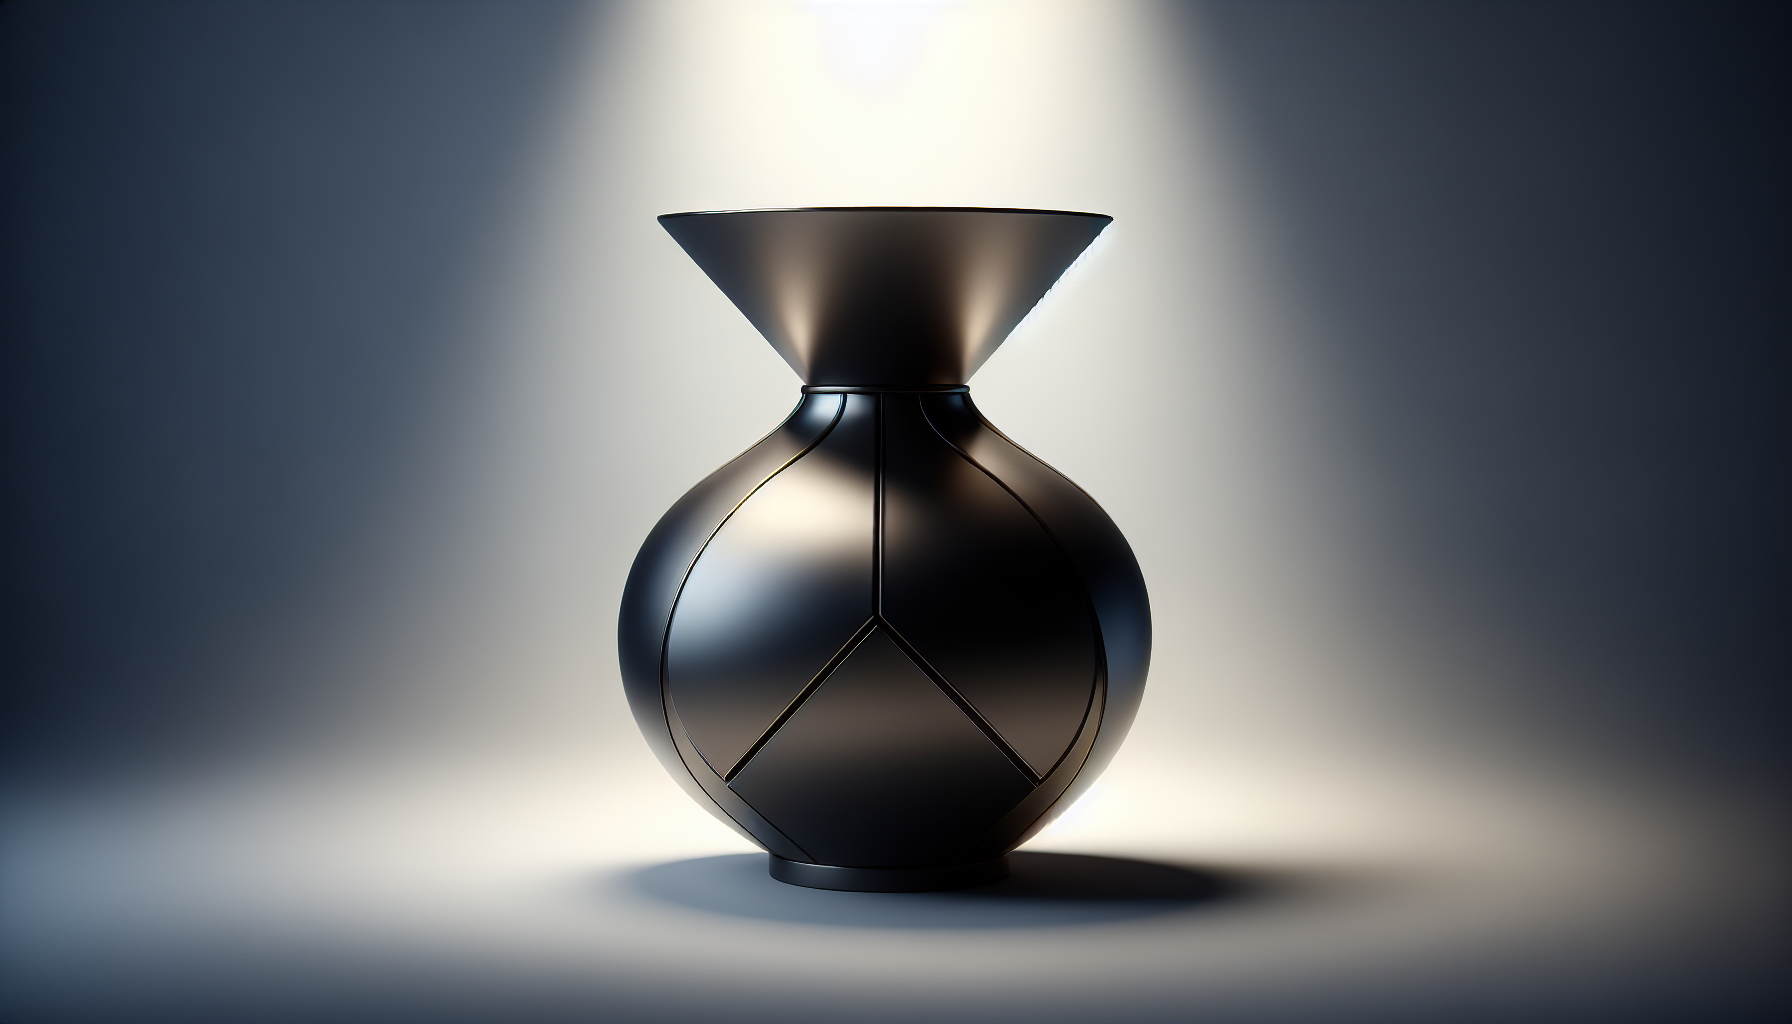
Good presentation makes your work stand out.
The Power of Presentation
Two identical models can look vastly different based on:
- Camera angle
- Lighting
- Materials
- Background
- Context
Camera Angles
Hero Shot
- Slightly above and to the side
- Shows 3 faces of object
- Most common presentation angle
Detail Shots
- Close-ups of interesting features
- Show craftsmanship
Functional Shots
- Show the object in use
- Demonstrate scale and purpose
Lighting Setup
Three-Point Lighting (Classic)
- Key light - Main illumination (brightest)
- Fill light - Softens shadows (dimmer)
- Rim light - Separates from background (behind)
Environment Lighting
- Use HDRI environments
- Realistic reflections
- Quick professional look
Material Polish
Before presenting:
- Adjust roughness for realism
- Check metalness is appropriate
- Consider adding subtle color variation
Background Choices
| Type | Use For |
|---|---|
| White/Gray | Product shots, clean look |
| Environment | Contextual presentation |
| Gradient | Artistic/stylized |
| Transparent | Web overlay use |
Building a Portfolio
Include for each project:
- Hero render - Best angle
- Process shots - Show your workflow
- Technical specs - Dimensions, poly count
- Description - What it is, how it was made