EdLight CodeEdLight Code
TracksGamesPathways
TracksGamesPathways
Track3D Printing Foundations
The Build Plate
5 / 14

3D Printing Foundations

Course Progress0/14

Understanding 3D Printing

Introduction to 3D PrintingUnderstanding ScaleYour First Print-Sized ModelChecking Print Dimensions

Build Plate & Wall Thickness

The Build PlatePositioning ObjectsWall ThicknessCreating Thick-Walled Objects

Overhangs & Supports

Understanding OverhangsSelf-Supporting ShapesWhen to Use SupportsOptimizing for Minimal Supports

Your First Print

Print Readiness ChecklistProject: Simple Keychain

The Build Plate: Your Foundation

3D printer build plate
The build plate is the foundation where your print begins

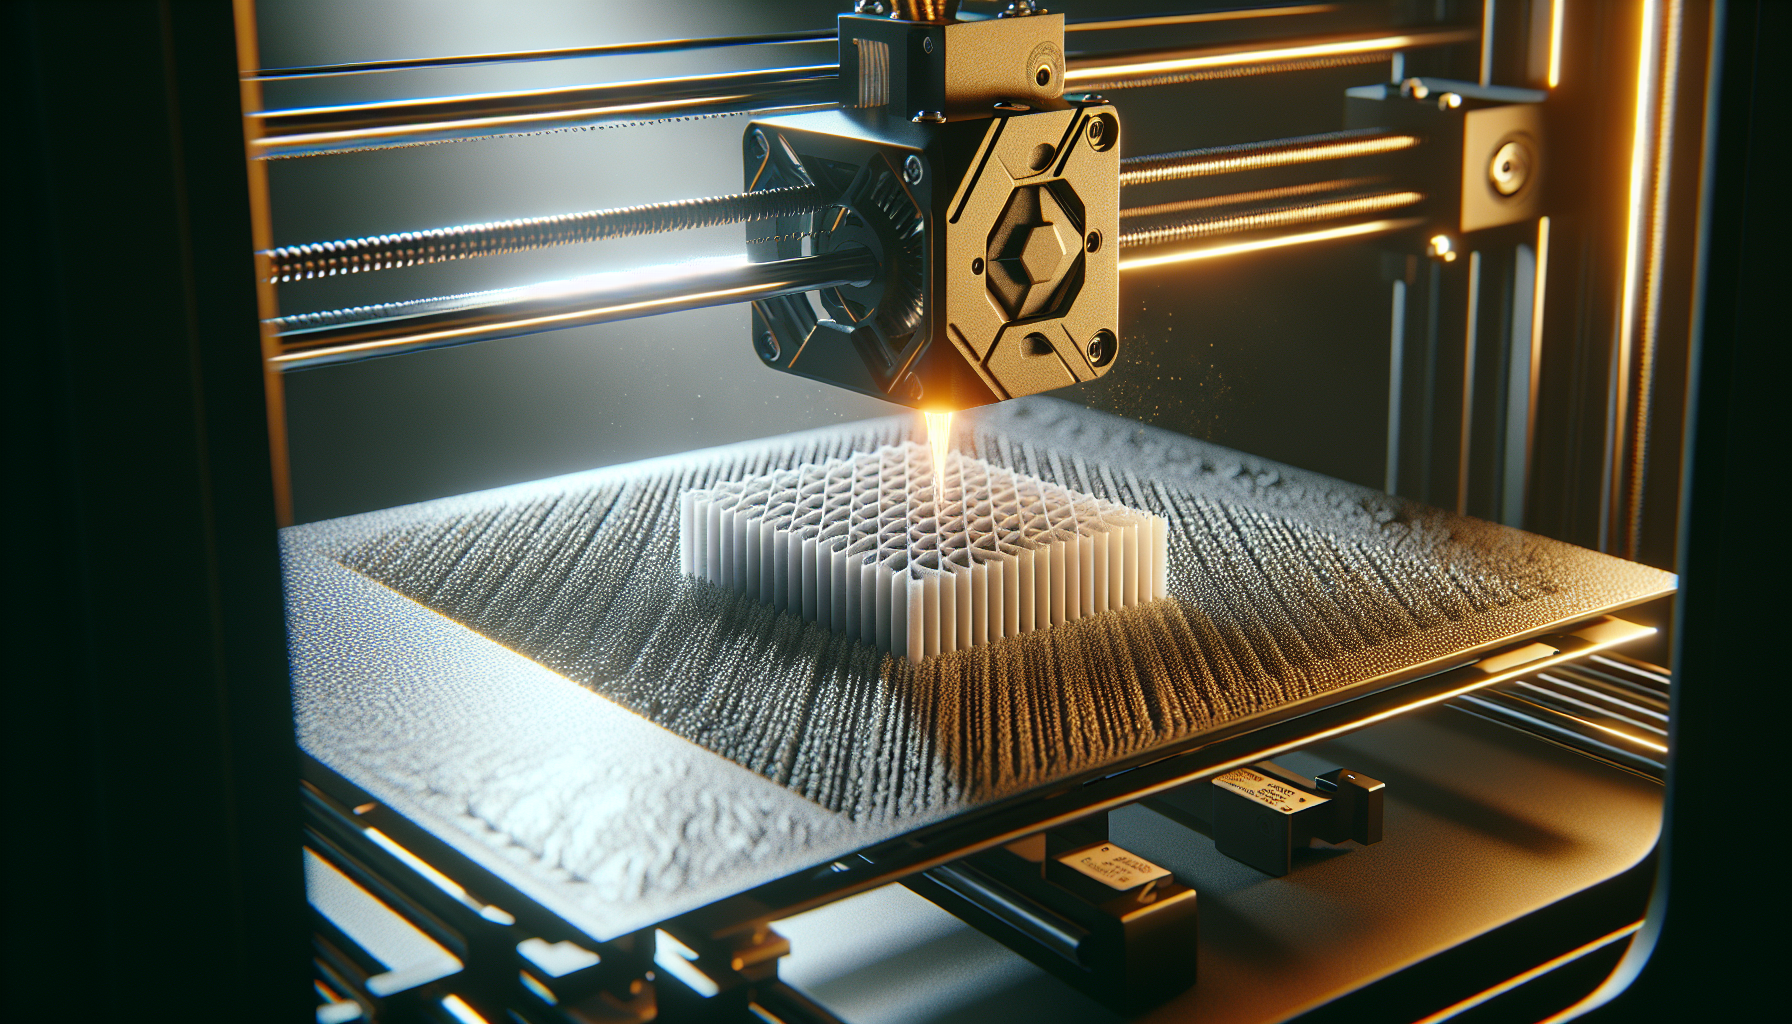
The build plate is where your print begins.

Why Position Matters

✅ Good: Flat Bottom on Build Plate

  • Strong adhesion
  • Stable first layers
  • No supports needed for bottom

❌ Bad: Floating or Tilted

  • Print will fail
  • Wasted material
⚠️ Warning
A floating object (not touching the build plate) will cause the printer to print into thin air! Always check that your model touches Y=0.

The Y=0 Rule

Objects should have their lowest point at Y = 0.

The Print Readiness panel shows warnings for floating objects!

💡 Tip
In our editor, the grid represents the build plate. If your object appears above the grid, move it down until it's resting on it.