EdLight CodeEdLight Code
TracksGamesPathways
TracksGamesPathways
Track3D Printing Foundations
Wall Thickness
7 / 14

3D Printing Foundations

Course Progress0/14

Understanding 3D Printing

Introduction to 3D PrintingUnderstanding ScaleYour First Print-Sized ModelChecking Print Dimensions

Build Plate & Wall Thickness

The Build PlatePositioning ObjectsWall ThicknessCreating Thick-Walled Objects

Overhangs & Supports

Understanding OverhangsSelf-Supporting ShapesWhen to Use SupportsOptimizing for Minimal Supports

Your First Print

Print Readiness ChecklistProject: Simple Keychain

Wall Thickness: Strength in Layers
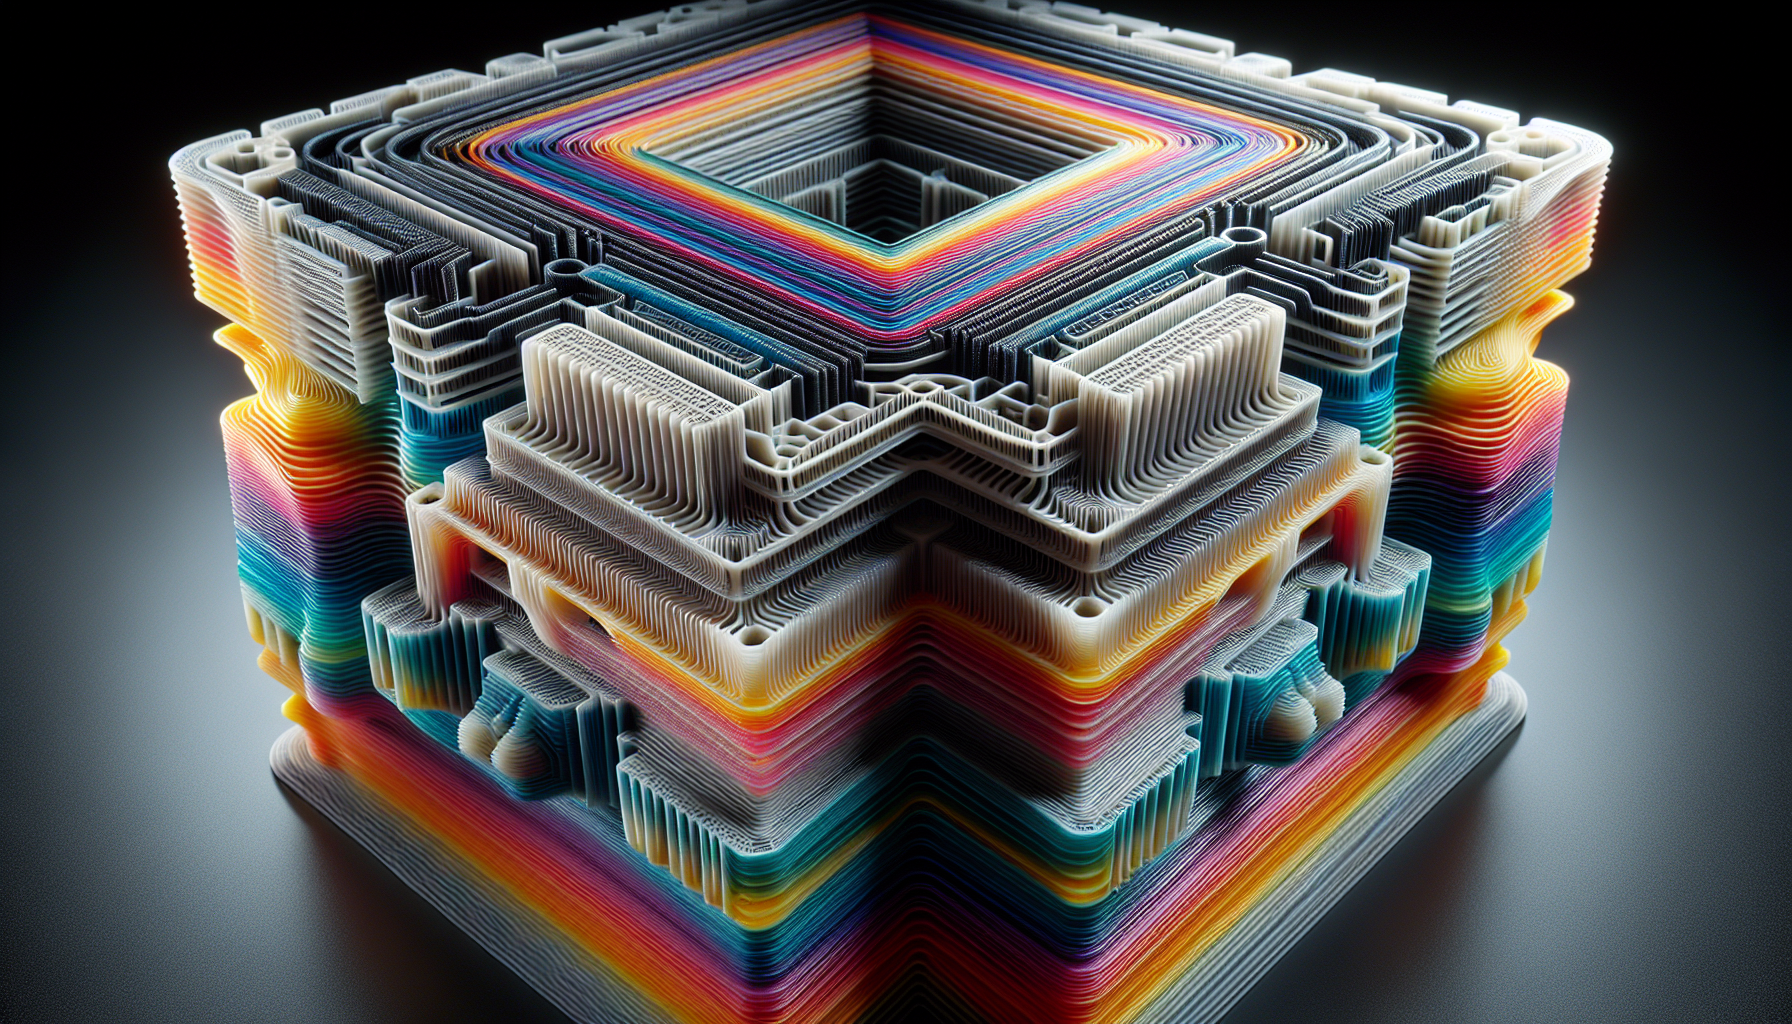
3D printed layers closeup
Each layer needs proper thickness for strength
Wall thickness determines print strength.

Minimum Thicknesses

Printer TypeMinimumRecommended
FDM (0.4mm nozzle)1.2mm2.0mm
Resin/SLA0.5mm1.0mm
⭐ Important
Walls thinner than the minimum will either fail to print or be extremely fragile. Always aim for at least the recommended thickness.

Why 1.2mm for FDM?

  • 1 perimeter = 0.4mm (very weak)
  • 2 perimeters = 0.8mm (okay)
  • 3 perimeters = 1.2mm (recommended)
Think: "Is this at least 3 nozzle widths thick?"
💡 Tip
For functional parts that need to withstand stress (like phone holders or clips), use 2mm+ walls for extra durability.