EdLight CodeEdLight Code
TracksGamesPathways
TracksGamesPathways
Track3D Printing Foundations
Understanding Overhangs
9 / 14

3D Printing Foundations

Course Progress0/14

Understanding 3D Printing

Introduction to 3D PrintingUnderstanding ScaleYour First Print-Sized ModelChecking Print Dimensions

Build Plate & Wall Thickness

The Build PlatePositioning ObjectsWall ThicknessCreating Thick-Walled Objects

Overhangs & Supports

Understanding OverhangsSelf-Supporting ShapesWhen to Use SupportsOptimizing for Minimal Supports

Your First Print

Print Readiness ChecklistProject: Simple Keychain

Overhangs: Fighting Gravity

Staircase demonstrating support concept
Like stairs - each step needs support below

Each layer needs something below it!

ℹ️ Info
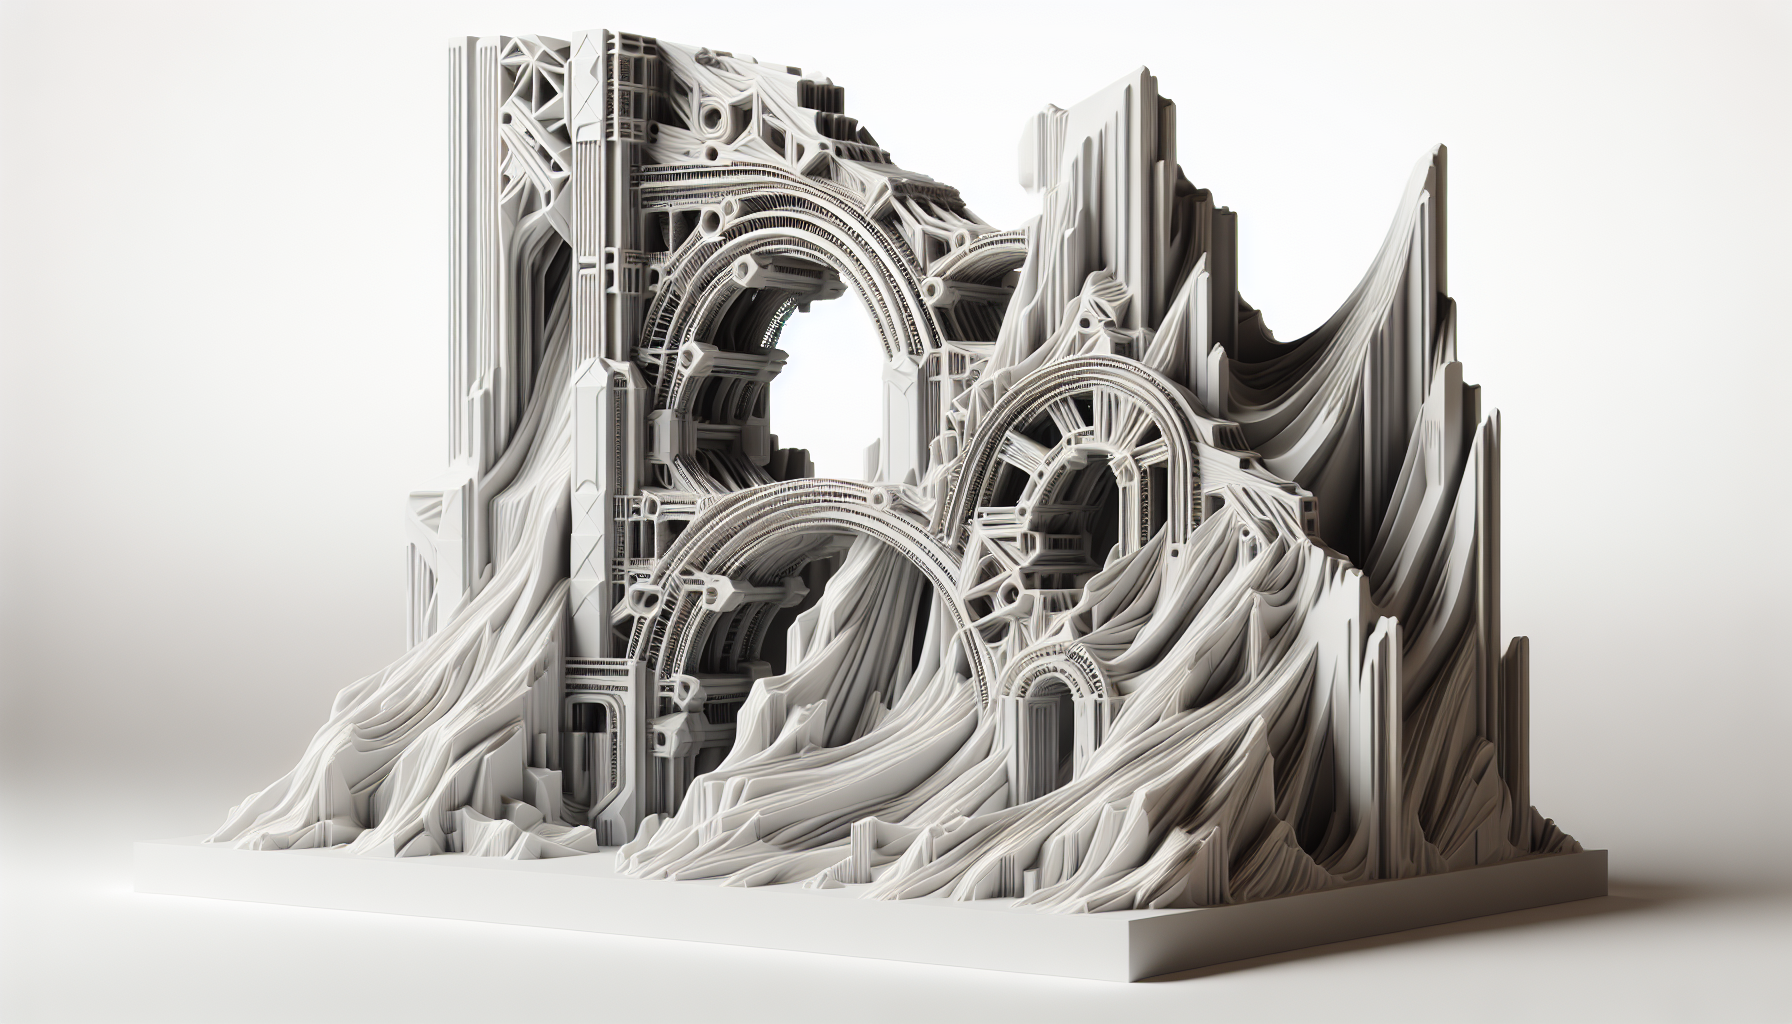
FDM printing works by laying down molten plastic layer by layer. Each layer must have something to stick to - it can't print in mid-air!

The 45° Rule

Angle from VerticalResult
0-45°✅ Self-supporting
45-60°⚠️ May droop
60-90°❌ Needs support!
💡 Tip
Imagine each layer as a row of bricks - each brick needs at least half of it resting on the layer below to stay up.

Self-Supporting Shapes

  • Domes and arches (gradual curves)
  • Chamfers instead of sharp overhangs
  • Cones with tip pointing up
⭐ Important
Best Practice: Design to minimize overhangs! It saves time, material, and produces cleaner results.