2 / 12
Object Alignment
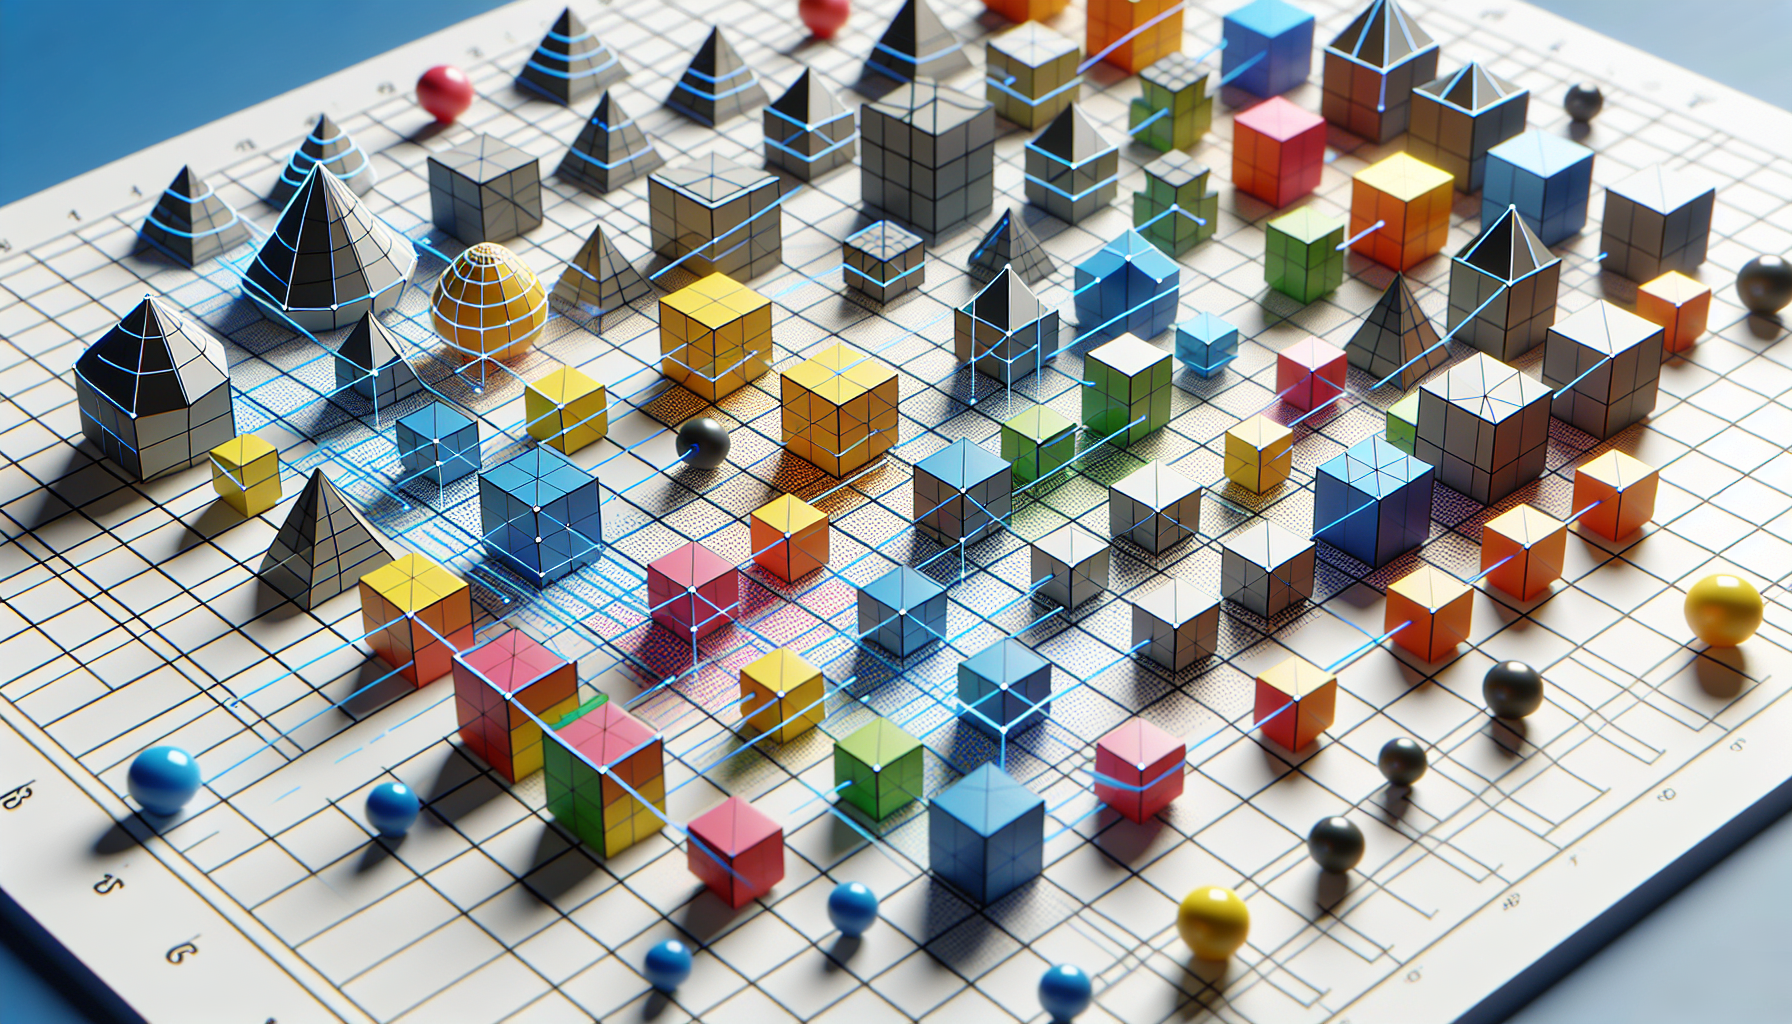
Precise alignment creates professional-looking models.
Using Snap
Enable Snap to align objects to the grid:
- Click the magnet icon in toolbar
- Objects snap to 0.5 unit increments
- Great for positioning on grid lines
Manual Alignment
For precise alignment without snap:
- Note the position of object A
- Set object B to the same value
Example - Align two boxes on X:
- Box A at X = 2.0
- Set Box B to X = 2.0
Center Points
Objects position from their center:
- A 1-unit cube at Y=0 extends from Y=-0.5 to Y=0.5
- To sit ON the grid, set Y = half the height
Sitting on Ground
For an object to sit on Y=0:
Y position = height / 2Example: 2-unit tall box → Y = 1.0
Stacking Objects
To stack objects:
Top object Y = Bottom Y + (Bottom height/2) + (Top height/2)Example:
- Bottom box: height 1, Y = 0.5
- Top box: height 0.5, Y = 0.5 + 0.5 + 0.25 = 1.25
Visual Alignment
Use orthographic view for precise visual alignment:
- Switch camera type in toolbar
- View from top, front, or side
- No perspective distortion