EdLight CodeEdLight Code
TracksGamesPathways
TracksGamesPathways
TrackDesign for 3D Printing
Understanding Tolerances
3 / 11

Design for 3D Printing

Course Progress0/11

Design Thinking

Think Print-FirstDesign an L-Bracket

Tolerances and Fit

Understanding TolerancesDesign Mating Parts

Bridging and Edges

Bridging GapsDesign a Bridge StructureChamfers & Fillets

Multi-Part Design

Multi-Part DesignDesign an Assembly

Phone Stand Project

Phone Stand Design BriefProject: Phone Stand

Tolerances: Making Parts Fit 🔧

Understanding Tolerances
Clearances for parts that fit together

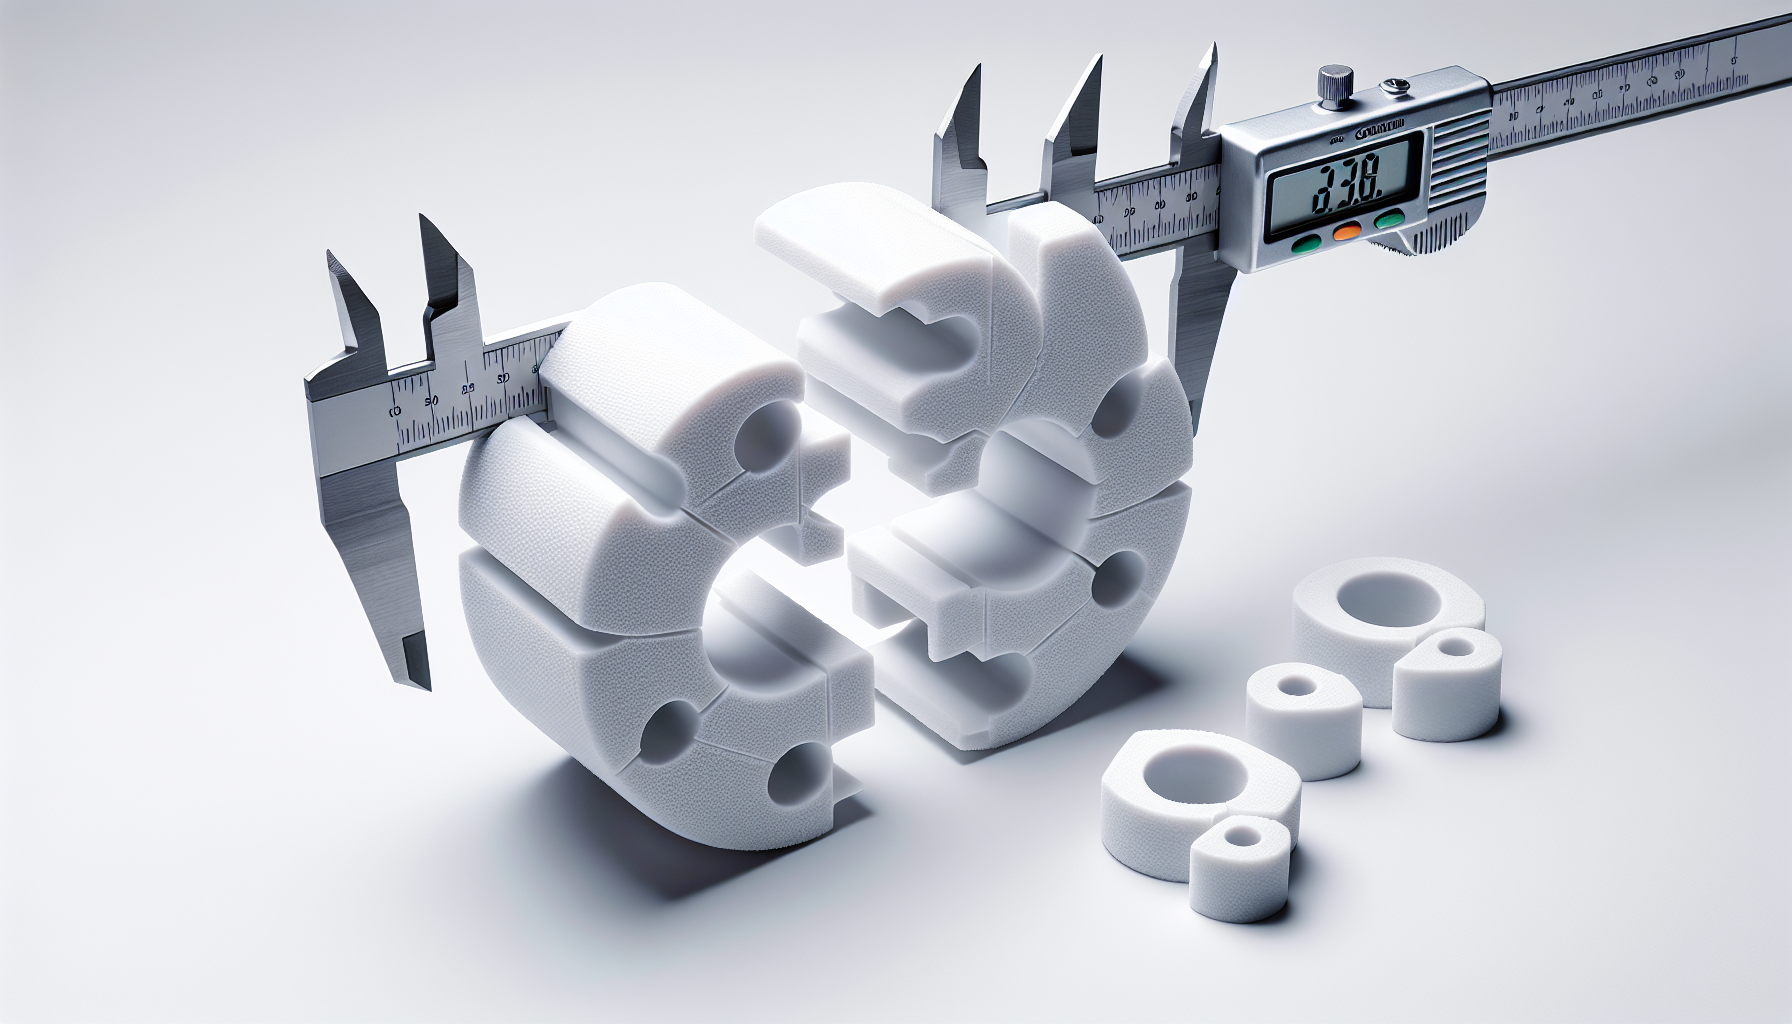
When designing parts that fit together, you need tolerance - extra space for parts to slide together.

Why Tolerances Matter

3D prints are never perfect:

  • Filament expands when cooling

  • Layers aren't perfectly aligned

  • Elephant's foot at base


Tolerance Guidelines for FDM

Fit TypeToleranceUse Case
Loose0.4-0.5mmEasy sliding
Normal0.2-0.3mmSnug but removable
Press0.1mmStays put

How to Apply

For a 10mm peg to fit in a hole:

  • Hole = 10mm + 0.3mm = 10.3mm (normal fit)

  • Or peg = 10mm - 0.3mm = 9.7mm


Start with 0.3mm tolerance and adjust!